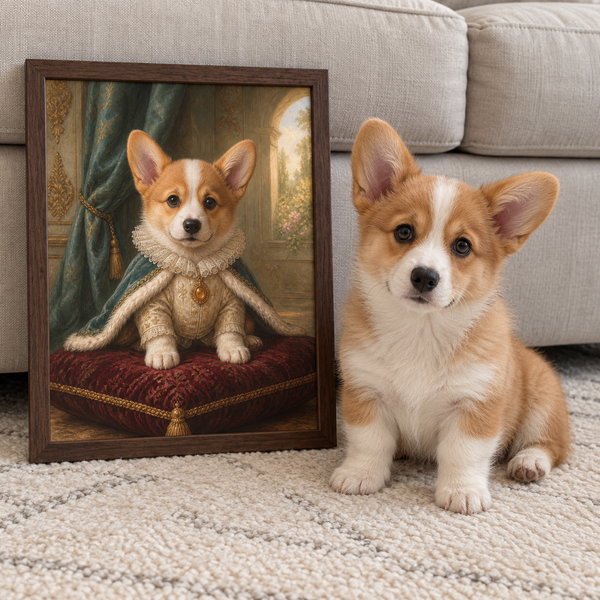
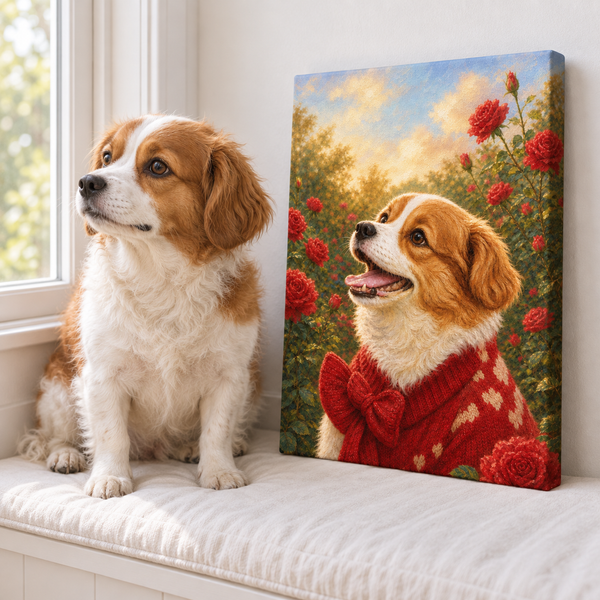
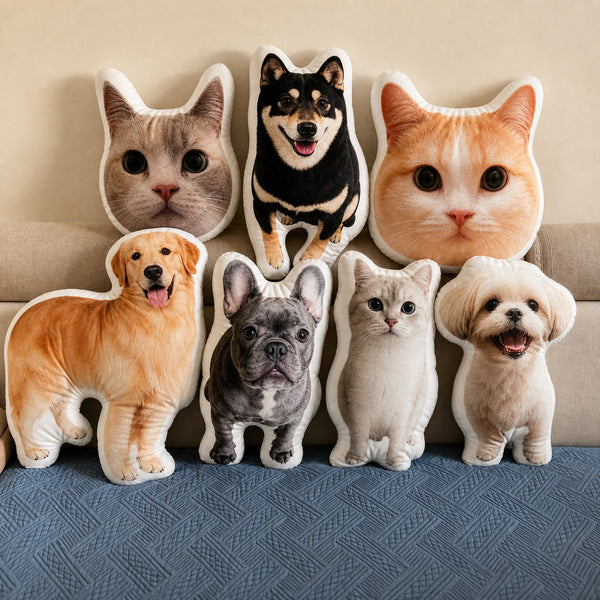

The best dog portrait photography does not begin with a perfect pose or an expensive camera. It begins with a moment your dog recognizes: a familiar room, a comfortable body position, and a person who is willing to wait. Your phone can capture enough detail for a favorite photo, a printed keepsake, or future artwork if the face is well lit and the expression feels natural.
Instead of trying to make one frame do everything, use a short three-pass session. First create a safe, calm setup. Then capture the expression that feels most like your dog. Finally, take a few practical detail shots as insurance. This approach is easier on your dog and gives you more useful choices.
1. Start With the Dog, Not the Background
Choose a time when your dog is awake but not bursting with energy. A familiar room, quiet porch, or shaded part of the yard is usually easier than a new location full of smells and movement. Remove only the distractions that compete with the face; you do not need to turn your home into a studio.
Comfort matters more than cooperation. The American Kennel Club's dog-photography guidance recommends watching body language and ending the session when you notice stress or fatigue, including pinned ears, lip licking, shaking, or a lowered tail. A photo is not worth making your dog uneasy.
Keep the floor clear, stabilize anything your dog might bump, and avoid elevated furniture or platforms unless a second adult is close enough to prevent a fall. Outdoors, use a secure fenced space or keep the leash on. You can always compose around a leash; safety cannot be edited back into the moment.
2. Find Soft Light Before You Call Your Dog
Light is the simplest way to improve a phone photo. Indoors, stand near a large window and position your dog so the light falls across the front or side of the face. Outdoors, use open shade or the softer light earlier or later in the day. Bright overhead sun can create deep eye shadows, while strong backlight can turn dark fur into a silhouette.
Turn off the phone flash. It can flatten coat texture, create harsh reflections in the eyes, and surprise a dog who is already unsure about the camera. If the face looks too dark, move the dog or yourself rather than asking the phone to rescue a badly lit scene.
Before the dog arrives, open your camera, wipe the lens, and take a test frame of the spot. That tiny preparation prevents the first good expression from disappearing while you adjust settings.
3. Get to Eye Level
Most everyday dog photos are taken from standing height. That angle can make the head look large, hide the chest, and turn the floor into most of the background. Lowering the camera to your dog's eye level creates a more direct connection and preserves more natural proportions.
Kneel, sit, or place the phone close to the floor. Try three viewpoints:
- straight on for symmetry and a clear look at markings;
- a three-quarter turn for shape and depth;
- a gentle side profile for ears, muzzle, and outline.
The goal is not to decide which angle is universally flattering. It is to discover which one shows the features you recognize immediately. A long muzzle, one folded ear, a white blaze, or an uneven eyebrow may matter more than a technically tidy pose.
4. Focus on the Nearest Eye
Eyes carry much of a dog's expression, so make them the sharpest part of the frame. On a phone, tap the nearest eye on the screen before taking the photo. If your dog is moving, use burst mode or take several frames in quick succession. One sharp image from a sequence is more useful than waiting for a single “perfect” moment.
Avoid digital zoom when you can. Step closer while leaving a little breathing room around the ears, chest, and tail. Extra space gives you flexibility to crop later and prevents an important feature from being cut off.
For a photo that may become artwork, review it at full size. Can you see both eyes, the nose edge, ear shape, and coat markings? Our pet portrait photo guide explains the basic source-photo qualities that help an artist work from what is visible instead of guessing.
5. Invite Attention Without Forcing It
Use a cue your dog already enjoys: their name, a familiar toy, a tiny treat, or a quiet sound. Hold the cue close to the phone so the eyes return toward the lens. Then pause. The half-second after your dog notices something often looks more natural than a long, rigid stay.
Do not repeat the cue continuously. Constant squeaking or calling can push an alert dog into frustration or excitement. Take two or three frames, reward the effort, and reset. A helper can stand just behind you to manage the reward while you concentrate on framing.
If your dog keeps looking away, use that instead of fighting it. A calm side glance, head tilt, or relaxed open mouth may say more about personality than direct eye contact.
6. Work in Three Short Passes
A simple sequence keeps the session useful without letting it drag on.
Pass one: the identity frame
Take a clear head-and-shoulders photo at eye level. Include both ears, the full muzzle, and the top of the chest. This is the practical frame that records proportions and markings.
Pass two: the personality frame
Let your dog do something familiar—watch the window, hold a toy, rest a chin on the sofa, or look toward a favorite person. Capture the expression rather than manufacturing one.
Pass three: the detail insurance
Photograph unusual markings, eye color, collar placement, paw color, and a profile. These images may not become the final composition, but they explain details that one hero photo can hide. If you later decide to turn a pet photo into art, this small visual library makes the creative choices clearer.
Keep each pass to a few minutes. A water break, sniff break, or complete stop is always a valid result.
7. Choose a Background That Supports the Face
A plain wall is useful, but “plain” is not the only good answer. A favorite chair, garden path, or familiar blanket can add context when it does not compete with the dog. Check the edges of the frame for bright objects, cords, trash cans, and shapes that seem to grow out of the head.
Think about contrast. A black dog can disappear against a dark sofa; a white dog may lose detail beside a bright window. Moving a few feet or placing a midtone surface behind the dog can reveal the coat without changing the scene completely.
If the image is intended as source material, the final artwork does not have to keep the photographed setting. Our guide to pet portrait background ideas can help you decide whether a simple, personal, or scenic background fits the finished piece.
8. Pick the Frame That Feels True
After the session, skip the rapid scroll. Compare your best three frames at full size. First reject anything where the eyes or defining markings are too soft. Then ask a more personal question: which expression would someone who knows this dog recognize without explanation?
The strongest choice may not be the neatest. A tilted ear, off-center gaze, or slightly rumpled coat can carry identity. Keep the original high-resolution file instead of sending only a screenshot or heavily filtered copy. If you order custom artwork, Pawfolio's How It Works page explains how the photo and proof stages fit together.
A Five-Minute Dog Portrait Checklist
Before you finish, confirm that you have:
- soft light on the face;
- at least one eye-level head-and-shoulders frame;
- sharp focus on the nearest eye;
- complete ears, muzzle, and defining markings;
- one natural expression and one profile;
- a high-resolution original with no heavy filter;
- a dog who is still comfortable.
Good dog portrait photography is less about controlling the scene than noticing what is already there. Prepare the light, work at your dog's level, take several short passes, and let personality outrank perfection. The result will be a better photograph because it still feels like your dog.