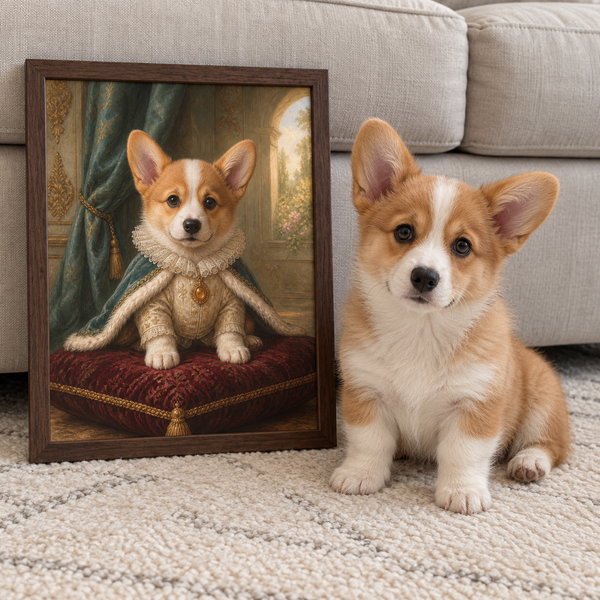
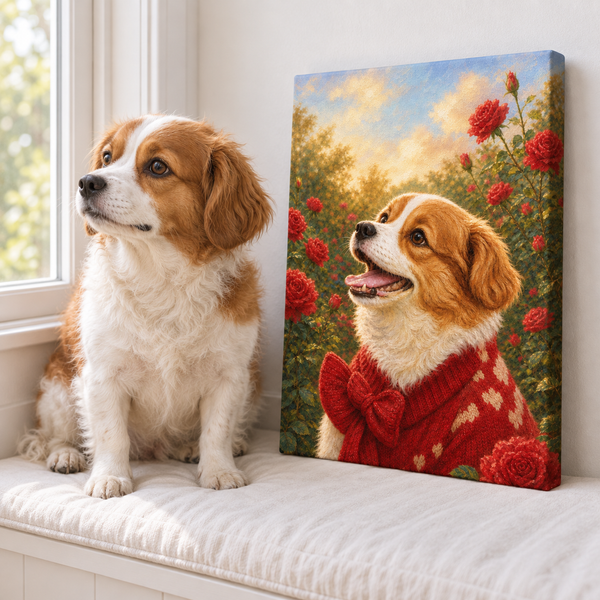
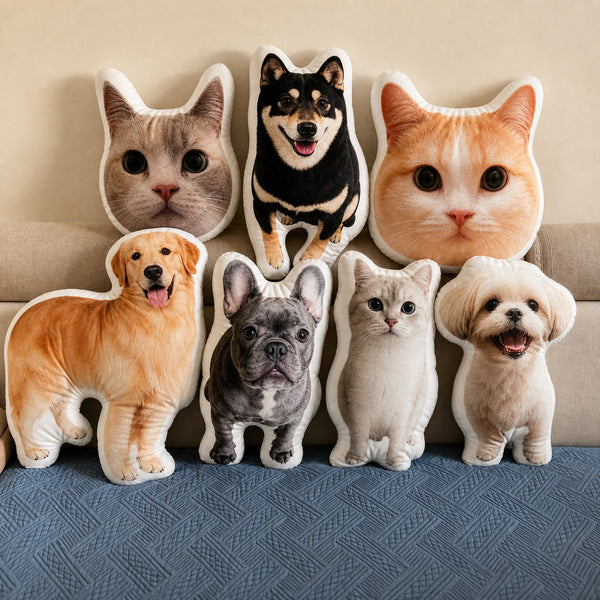

A favorite pet photo can hold a whole personality in one frame: the sideways look your dog gives before a walk, the dignified pose your cat adopts on the windowsill, or the expression that instantly feels like them. Turning that image into art is not simply a matter of applying a style. The strongest portraits come from a series of thoughtful choices about the photo, crop, composition, background, and final display.
If you want to create custom pet portraits from photos, these seven decisions will help you move from a phone image to a portrait that still feels recognizably yours.
1. Choose the photo with the most personality
The technically sharpest image is not always the most meaningful one. Start by looking for the expression or posture you associate with your pet. A slightly curious head tilt, a relaxed gaze, or a familiar ear position may say more than a perfectly posed photograph.
Then check whether the image gives the portrait enough usable detail:
- Are the eyes and face in focus?
- Can you see the pet's natural coloring and important markings?
- Are both ears visible, unless the crop is intentional?
- Is the face free from heavy shadows, filters, or motion blur?
- Does the photo show the expression you want to remember?
The American Kennel Club's guide to taking better photos of your dog recommends working where the dog feels comfortable, watching their body language, using natural light, and focusing on the eyes. Those basics matter because a portrait can simplify a background, but it should not have to guess at the features that make your pet unique.
If you are comparing several images, Pawfolio's Pet Portrait Photo Tips offers a quick visual checklist before you choose.
2. Decide how close the portrait should feel
Crop changes the emotional distance between the viewer and the pet. A close head-and-shoulders composition makes the face and eyes the center of attention. A wider crop can preserve a distinctive sitting pose, a fluffy tail, or a meaningful setting.
Before choosing, ask what you want the finished art to communicate:
- Character study: Use a close crop when expression is the main story.
- Formal portrait: Leave room around the shoulders or body so costume and background can create a composed, balanced look.
- Everyday memory: Keep more of the original pose when the way your pet sits, stands, or curls up is part of what you love.
- Multi-pet portrait: Choose photos with compatible angles and enough visible detail for each face.
Avoid cropping so tightly that whiskers, ears, or the top of the head feel accidentally cut off. At the same time, do not preserve empty space just because it appeared in the original photo. The finished composition should serve the pet, not the accidental framing of a quick snapshot.
3. Improve light and clarity before you think about style
Good light reveals coat texture, eye color, and facial structure. Soft daylight near a window or outdoors in open shade is often easier to work with than direct midday sun. Harsh light can create deep shadows under the eyes, while flash may flatten the face or produce distracting reflections.
You do not need professional equipment. Adobe's guide to taking professional-looking photos with a phone recommends soft natural light, tapping the subject to set focus and exposure, using the rule-of-thirds grid, and getting down to the subject's eye level. Light editing can help with exposure and color, but avoid strong filters that change the pet's real markings.
When possible, take several images in one short session. Small changes in gaze and ear position can make a large difference once the face becomes the focus of a portrait.
4. Choose a background that supports the pet
The background sets the mood, but it should not compete with the subject. A useful way to choose is to think in terms of contrast and story.
A pale pet may stand out against a deeper background, while a dark-coated pet often benefits from lighter values around the face. Warm florals can feel cheerful and decorative. A quiet interior can feel intimate. Mountain, garden, or night-sky scenes can add a sense of place. Formal architectural or painted backdrops can make a portrait feel ceremonial.
Also consider the room where the artwork will hang. If the room already contains strong patterns, a calmer portrait background can be easier to live with. If the space is minimal, a more dramatic scene can become the focal point. The goal is not to match every color in the room. It is to make the portrait and its surroundings feel intentional together.
5. Match the art style to your pet's character
Style works best when it amplifies something you already see in the pet. A regal composition may suit a dog with a solemn, self-possessed expression. A floral or pastel setting may fit an affectionate, gentle portrait. A bold modern background can bring energy to a playful pose. If a formal direction fits your dog, our guide to Renaissance dog paintings explains the visual tradition behind the look.
Instead of asking only, “Which design is the prettiest?”, try these questions:
- Does the style suit my pet's expression?
- Will the colors work in the room where I plan to display it?
- Do I want the result to feel timeless, whimsical, dramatic, or cozy?
- Should the art preserve the original photo's atmosphere or transform it completely?
There is no universally correct style. The best choice is the one that makes the finished portrait feel personal rather than interchangeable.
6. Choose between an Art Print and Canvas
The same portrait can feel different depending on how it is displayed. An Art Print has a flat presentation and offers flexibility for a classic framed-art look. A Canvas has visible depth, wrapped edges, and a solid-wood inner frame, giving the piece a more dimensional, ready-to-display presence.
Think about the wall and the mood you want:
- Choose an Art Print when you want a flatter profile, framing flexibility, or a traditional print presentation.
- Choose Canvas when you want visible depth and a stronger standalone statement on the wall.
- For a gallery arrangement, consider whether the new portrait needs to align visually with frames already in the space.
- For a single focal piece, consider how the portrait will look from across the room as well as up close.
The full Art Print vs Canvas comparison explains the construction and display differences side by side.
7. Use the proof to check likeness, not just beauty
The proof is where the photo, style, and composition meet. Review it before production with a more specific question than “Do I like it?” Look closely at the features that make your pet identifiable.
Check:
- eye color and eye shape;
- ear position and facial proportions;
- coat color, markings, and distinctive patches;
- the transition between the pet and the chosen costume or scene;
- crop, balance, and background distractions;
- names or other text, if the design includes them.
Request an edit when something important to the likeness feels off. A beautiful image that does not feel like your pet is not the goal. Pawfolio's How It Works page explains the path from photo upload to artwork proof and final production.
A simple photo-to-art checklist
Before placing an order, make sure you can answer yes to the following:
- I chose a photo because it captures my pet's personality.
- The eyes, face, coloring, and important markings are visible.
- I know whether I want a close portrait or a wider pose.
- The background and style fit both my pet and the intended room.
- I have chosen the display format that suits the wall.
- I am ready to review the proof for likeness and small details.
Turning a pet photo into art is ultimately an act of editing: keeping what feels most true, removing what distracts, and choosing a presentation that gives the memory a lasting place in your home. Start with a photo that feels unmistakably like your pet, and let every decision after that support the same story.