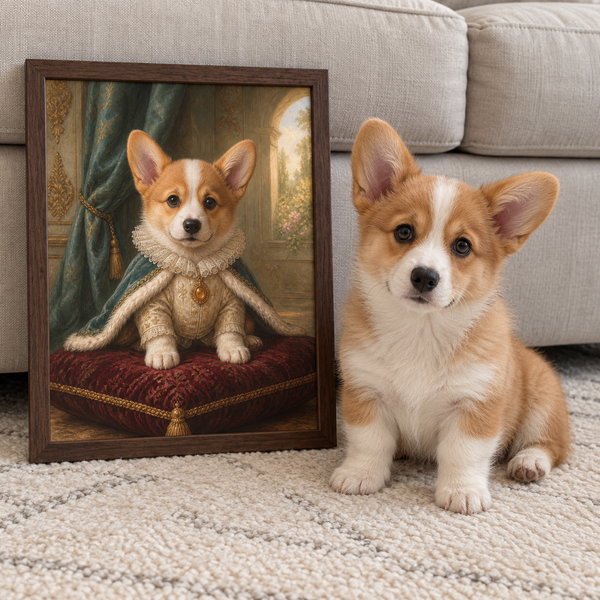
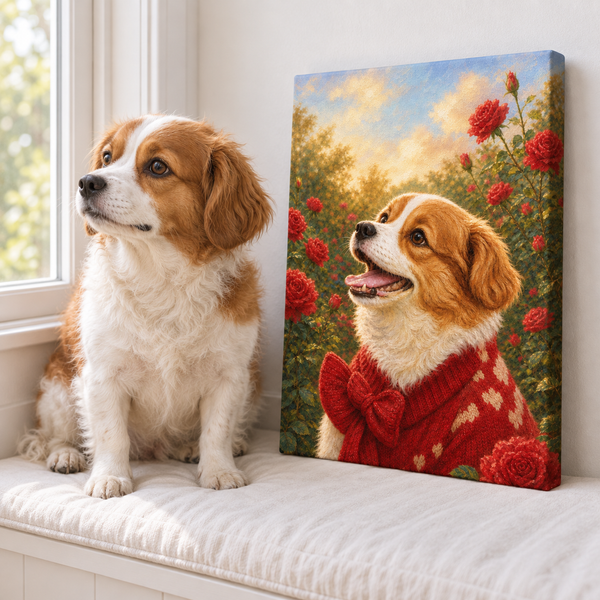
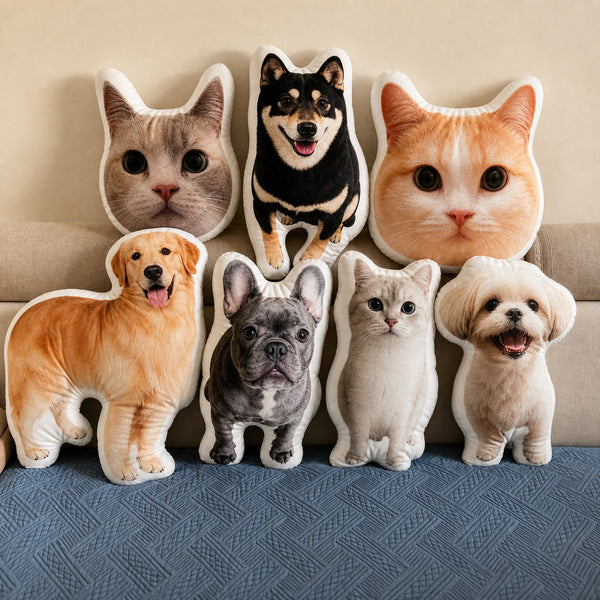

To make a plush animal from a pet photo, simplify the pet into a clear side or front silhouette, turn that outline into a two-piece paper pattern, sew the pieces with right sides together, turn and stuff the form, then add a few embroidered markings. This beginner method will not reproduce every three-dimensional feature. Its strength is creating a recognizable, handmade keepsake without requiring an advanced multi-piece pattern.
Decide first whether the finished piece is decorative or intended for play. The tutorial below is for a decorative keepsake. A homemade plush has not gone through commercial toy testing, so do not treat it as a child-safe or chew-safe toy.
Plan the photo and materials
Choose a photo you can simplify
A useful reference photo has a readable outline. For a side-view plush, look for space between the front and back legs, a visible tail, and ears that do not disappear into the background. For a front-view pillow-like shape, prioritize symmetry, eye placement, and the outer shape of the ears and cheeks.
Avoid starting with a dramatic action shot, a curled sleeping pose, or a photograph where the body is hidden by furniture. Those can inspire artwork, but they are difficult to translate into a beginner sewing pattern. If you are choosing among several pictures, the same visibility principles in Pawfolio’s pet photo guide apply: clear light, visible facial features, and an uncropped outline give you more usable information.
Print the photo or place it on a screen where you can study it without changing the image. You are not tracing every hair. You are looking for the shapes that make the pet recognizable.
Gather simple, forgiving materials
For a first project, use fabric that is easy to control. Fleece is soft and does not fray much. Felt is easy to cut but has less stretch and can show needle holes. A stable woven cotton is workable when you want a flatter, more graphic finish.
You will need:
- a printed pet photo and plain paper for the pattern;
- 1/4 to 1/2 yard of main fabric, depending on size;
- small fabric scraps or embroidery floss for markings;
- matching thread, a hand needle, pins or clips, and fabric scissors;
- washable fabric chalk or a removable marker;
- polyester fiberfill made for craft use;
- a turning tool, blunt chopstick, or capped pen; and
- a sewing machine, or enough time to sew a firm backstitch by hand.
Keep the first design around 10 to 14 inches at its longest point. Tiny ears and narrow legs are harder to turn and stuff. Very large shapes require more support and make uneven stuffing more obvious.
Draw a two-piece pet silhouette pattern
Place tracing paper over the printed image, or sketch the outer contour while looking at the photo. Simplify aggressively. Widen thin legs, thicken a narrow tail, round sharp corners, and merge details that would create tight inward angles. The pattern should look like your pet in profile even before markings are added.
Draw the sewing line first. Then add a 1/2-inch seam allowance around the outside. Mark a 3- to 4-inch opening along a fairly straight section of the back or belly. Add small alignment marks at the chest, back, and base of the tail so the two fabric layers do not drift while sewing.
If the pose is symmetrical, fold the paper along the center and cut both sides together. If it is a side silhouette, cut one complete pattern piece and use it twice. Label the pattern with the pet’s name, grain or stretch direction, number of pieces to cut, seam allowance, and opening location. This is the basic answer to how to create a stuffed animal pattern without specialized software: reduce the subject to one strong outline and document the construction information directly on the paper.
Transfer markings before you close the body
Cut two mirrored body pieces with right sides of the fabric facing. Before sewing them together, decide which details need to be added while the fabric is still flat.
Use embroidery for eyes, nose, mouth, and small coat markings. Flat appliqué can work for a chest patch or large blaze. Keep the number of details low; the outline, ear shape, tail, and two or three markings usually do more for likeness than a crowded surface.
Do not rely on glued-on beads or buttons if the plush could ever reach a young child or pet. The U.S. Consumer Product Safety Commission’s toy-safety guidance treats seam integrity and detachable small parts as real safety issues in commercial toys. A home craft is not certified simply because a component is sold as a “safety eye.” Embroidery is the more cautious choice, but it still does not make the finished keepsake a tested toy.
Sew, clip, turn, and stuff
Pin or clip the two body pieces with right sides together. Sew on the marked line with a short, even straight stitch, leaving the turning opening unsewn. Reinforce the base of ears, legs, and tail with a second pass because those points take strain during turning.
Trim bulky seam allowances, but do not cut through the stitches. Clip small notches into inward curves and tiny wedges from outward curves. This lets the seam spread when the form is turned. A practical custom-plush tutorial from Mindy Makes demonstrates the same core sequence: draft, sew with an opening, clip curves, turn, stuff, and close.
Turn the shape right side out slowly. Use a blunt tool to ease out ears and paws; pushing hard with a sharp point can pierce the fabric. Add fiberfill in small amounts, starting with the narrowest areas. Build the face and limbs gradually, then fill the body. Stop before the seams feel stressed. An overfilled plush becomes hard and lumpy, while an underfilled one loses its outline.
Fold the opening’s raw edges inward and close it with a ladder stitch. Take small bites of fabric from alternating sides, pull the thread gently, and knot it securely. Massage the filling through the fabric to even out the shape.
Add likeness without adding clutter
Compare the finished form with the reference photo. If it feels generic, do not immediately add more accessories. Look for one missing identity cue: a white chin, dark ear, eyebrow spot, long whisker line, or distinctive collar color.
A small removable bandana can add color, but avoid tight cords, wire, magnets, loose pellets, or anything that could detach. If the piece is purely decorative, display it where pets and small children cannot pull at it. If a seam opens, stop using or displaying it within reach until it is repaired.
The final plush will be an interpretation, not a scale model. That is part of the handmade look. A simple silhouette that gets the ears, posture, and markings right often reads more clearly than an ambitious pattern with too many small pieces.
When a custom version makes more sense
If you have wondered, “How are stuffed animals made?” this small project shows the core construction logic: pattern pieces become a sewn shell, the shell is turned and filled, and the opening is closed. Learning that process can be the point of the project. Drafting and sewing by hand gives you control over fabric choices and lets you preserve the marks you notice most.
There are also good reasons not to DIY: the source photo may be difficult to simplify, you may want a more dimensional head or body, or sewing may not be how you want to spend the time. Pawfolio’s guide to custom stuffed animals made from pet photos explains what to expect from a photo-based keepsake. You can also browse custom pet stuffed animals if you prefer to start with a clear photograph rather than a paper pattern.
Whichever route you choose, decide what must remain recognizable before thinking about decoration. The curve of an ear, a familiar blaze, and the expression in a good reference photo are usually the details that make the result feel personal.