
A drawing can have hundreds of careful fur marks and still feel unlike the dog in the photograph. Often, the missing piece is something larger: the angle of the head, the width of the muzzle, or the space between an eye and an ear. Those relationships deserve attention before the fine pencil work begins.
For your first piece of dog pencil art, choose a head-and-shoulders portrait and give yourself permission to leave parts unfinished. This exercise uses a few checkpoints to help you decide what to do next. You will work from a clear photo, compare the main landmarks, separate light from dark, and add texture where it helps the face read.
Choose one useful photo and a modest drawing kit
Pick a photograph in which you can see the eyes, nose, ear shapes, and outline of the head. A familiar expression matters more than a dramatic background. Avoid starting with a tiny screenshot whose facial details disappear when enlarged. Our pet portrait photo guide can help you judge clarity and lighting before committing to a reference.
Keep one photograph as the main reference throughout the exercise. Switching between different head angles halfway through makes it harder to decide which proportions you are drawing. Crop a copy around the head and shoulders, leaving space beyond the ears. Keep the original image unchanged.
Start with drawing paper, an HB pencil, an eraser, and a sharpener. A softer pencil such as 2B or 4B is optional for darker passages. Faber-Castell's explanation of pencil hardness describes the H and B designations and how the grades differ. You do not need a complete set to begin.
On spare paper, test a pale mark, a middle gray, and your darkest comfortable mark. Use the same paper as the portrait so you know what the pencil can produce without forcing it.
Place the landmarks before drawing the expression
Decide how much of the page the head will occupy. Leave a margin above the ears and space for the shoulders below. Mark the top, bottom, and widest points with small, faint strokes. Join them loosely to establish an outer shape, without tracing every tuft of fur.
Now locate five landmarks: the two eye centers, the nose center, and the points where the ears meet the head. Compare their positions with the overall width and height you have marked. Are the eyes above or below the halfway point in this particular image? How far does the nose sit below them? Let the photograph answer.
Draw a light line between the eyes to check the head's tilt. A turned face may show one side narrower than the other. Do not make the drawing symmetrical merely because you expect two matching sides.
Before adding an eyelid or nostril, compare three distances: eye to eye, eye line to nose, and nose to chin. Hold your pencil against the reference as a rough measuring aid, then compare the same relationships on the drawing. The measurements need to be proportional, not identical in inches. Keep correcting at this stage while the marks remain easy to lift.
Reduce the face to three groups of light and dark
Make a small practice version beside your main drawing or on another sheet. Use only three values: unshaded paper, a middle gray, and a dark gray. Ignore individual hairs. Identify the broadest light areas and the strongest dark areas in the reference.
This thumbnail is a planning exercise rather than a miniature finished portrait. It might show a dark ear, a lighter forehead, a middle-gray cheek, and a small dark nose. Your dog's actual markings and the light in the photo determine the arrangement; there is no standard pattern to copy.
Return to the larger drawing and add those same broad groups with gentle layers. Leave the brightest spots alone for now. Work across the face so one fully finished eye does not distract you from an unresolved muzzle or ear.
When studying pencil drawings of dogs, notice whether you can still understand the face when the image is small. Try that check on your own work by stepping back. If the main shapes disappear, adjust the relationship between the values before adding texture. A dark coat does not require every part of the drawing to become equally dark.
Use fur marks to explain the shape
Choose a few areas where texture will make the portrait clearer: perhaps the brow, the edge of an ear, and the turn of the cheek. Observe the direction and length of the visible fur in each place. Avoid applying one repeated stroke across the entire head.
For an exercise in selective detail, divide your attention into three kinds of edges:
- Clear edges: places where the head stands distinctly against the background.
- Soft edges: areas where a shadow or coat transition changes gradually.
- Broken edges: places where a few tufts interrupt the silhouette.
Use the firmest lines sparingly. A continuous heavy outline around every feature can make the face feel cut out. Try short, separated marks along one cheek and leave a quieter section nearby, then compare the effect with the reference.
In your dog drawings in pencil, the eyes and nose can receive more definition than the shoulders. Keep small reflections only where you can see them in the photo. If a whisker is barely visible, you do not have to invent a bright line for it. The drawing can remain selective while still recording a recognizable expression.
Correct one mismatch at a time
Pause before the last layer of detail. Put the drawing and reference side by side, at roughly the same viewing size. Name the most noticeable difference in ordinary words: “the muzzle is too narrow,” “the near ear starts too high,” or “the cheek is darker than the nose.”
Choose one correction and make it before touching anything else. If you cannot identify the problem, return to the landmark measurements. Adding more hair rarely clarifies a misplaced feature, and darkening everything makes comparisons harder.
Take a quick photograph of the drawing to record this stage. After the correction, compare the two versions. Did the change improve the relationship you meant to fix? This gives you something concrete to learn from instead of relying on whether the whole page suddenly feels perfect.
Stop if repeated erasing begins to roughen the paper. A fresh small study of the difficult area can be more useful than continuing to scrape at the original. If you want a simpler warm-up between portrait attempts, try our dog paw drawing exercise. It practices spacing and shape decisions without the extra challenge of facial likeness.
Keep the sketch, then decide how to show it
A piece of dog sketch art can be worth keeping even when one ear or patch of fur remains loosely drawn. Add a small date in the margin and save the reference photo with a scan or photograph of the artwork. Keeping early versions makes it easier to see what you learned on the next attempt.
Handle the sheet with clean hands and keep food and drinks away. The Library of Congress's paper-care guidance recommends protective storage, minimal light exposure, and avoiding direct or intense light. For a valued drawing, choose a suitable acid-free folder or have a framer advise on a protective presentation.
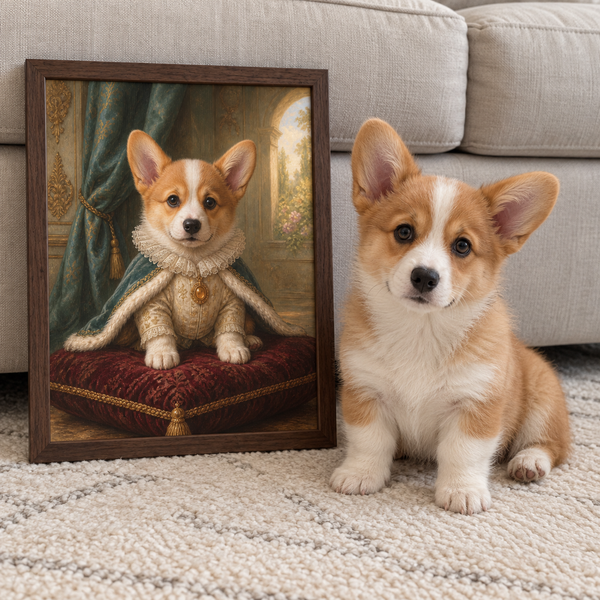
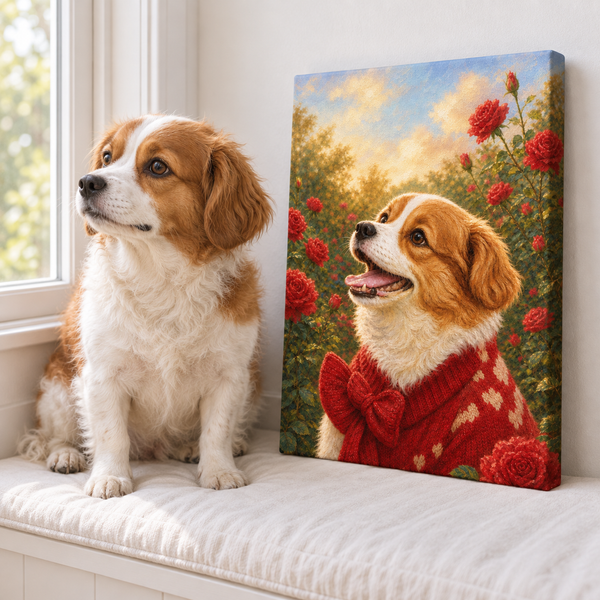
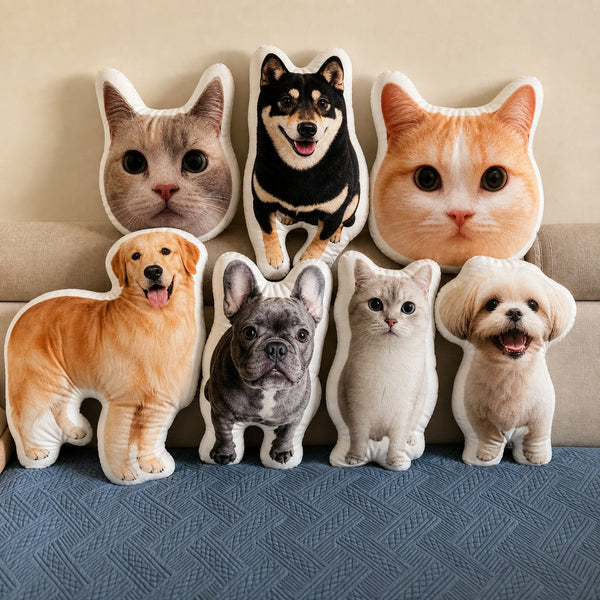
For display, you could pair the sketch with the photograph that inspired it; our dog photo display ideas offer ways to arrange personal pieces. If you also want a separate custom portrait made from a pet photo, explore Pawfolio’s custom pet Art Prints and choose from the styles shown there.
Before finishing, check the head angle, the main facial distances, and the balance of light and dark. Then choose only the detail the drawing still needs. A familiar face built from a few well-observed decisions is a useful place to stop.