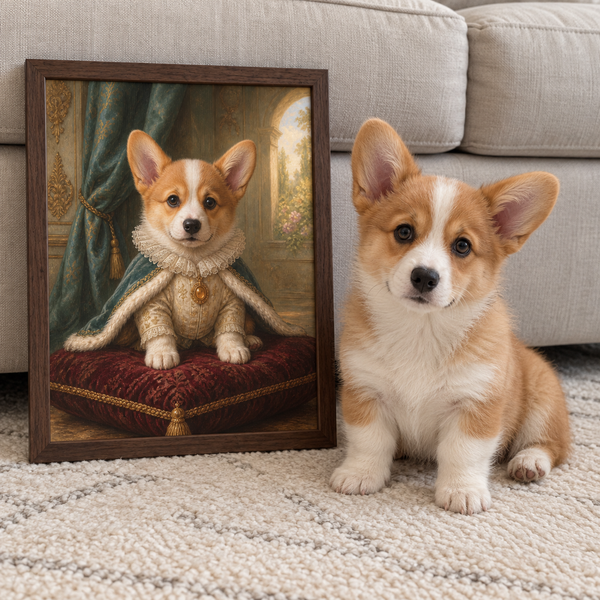
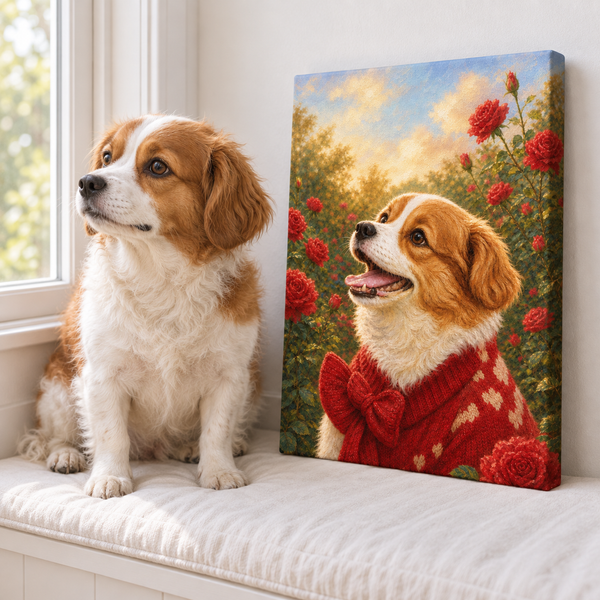
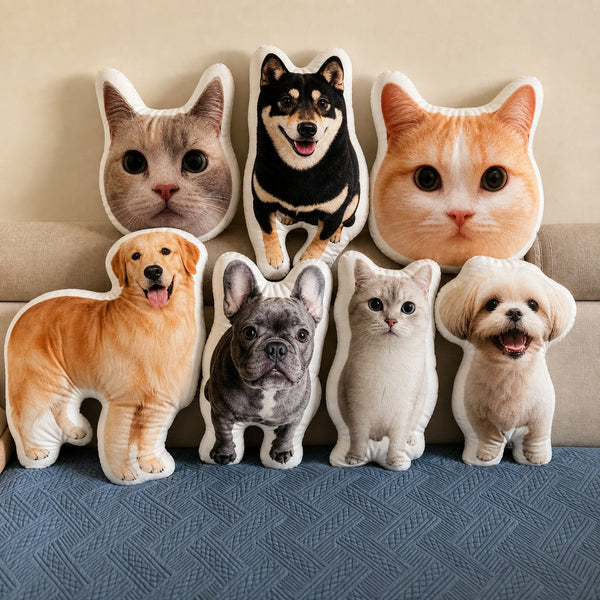

A favorite dog photo does not need a large frame to become something you look forward to seeing each year. A small paper ornament can hold a familiar expression, a floppy-ear silhouette, or a memory written quietly on the back. The most useful dog ornament ideas start with something you already love about your dog, then use a simple shape to make it visible. These projects use copies of photos and cardstock, with no need to press a paw into a mold. Choose one design first, make a small test version, and add only the details that feel personal.
Start with a photo that works at a small size
Scroll through your existing pictures before organizing a new photo session. Look for a clear expression, a recognizable outline, or a moment you genuinely want to keep. A technically imperfect picture may be the right choice if the detail that matters still reads when printed small.
For a face-centered ornament, check the eyes and leave space around the ears. For a silhouette, a side view with a clear separation between the dog and the background is easier to trace. Pawfolio’s pet photo tips can help you assess clarity and framing if you need another source image.
Print a rough paper proof at the intended size. Place your proposed ornament outline over it before cutting. A round border may trim the ears even when the full rectangular photo looks generous.
Try a three- or four-inch paper shape as a starting point, then adjust for your photo and display space. Those are project choices, not fixed rules. Keep the original image untouched and work with a duplicate crop so you can change your mind without losing anything.
Gather a small kit and make the base
For these designs, you need photo copies or prints, firm cardstock, a pencil, scissors, a hole punch, paper adhesive or photo corners, and a short hanging loop. Follow the adhesive’s instructions and make the project on a surface your pets cannot access.
Make the base before decorating it:
- Draw or trace one circle, oval, or simple rectangle on scrap paper.
- Test the shape against the photo, leaving room for a border and the hanging hole.
- Cut a cardstock base and position the picture without attaching it.
- Mark the hole above the photo, with enough card around it to resist tearing.
- Attach the photo, let any adhesive dry as directed, and add the loop.
If your card feels flimsy, use a second matching layer on the back. Test one finished piece before preparing a whole set. This lets you check its balance and see whether the hole needs to move.
Keep scraps, tools, and finished pieces away from pets. Paper crafts are decorations, not chew items. Skip salt-dough alternatives: the ASPCA’s holiday crafting guidance warns that these can be dangerous when eaten, even after drying. A photo project also lets your dog stay comfortably out of the crafting process.
Try a portrait medallion or a simple silhouette
The portrait medallion is the easiest starting point. Cut a round photo slightly smaller than a round cardstock base, leaving an even border. Use a neutral border if the image has a busy background, or choose a color already present in the photo. A second thin border is enough if you want more detail.
Position the face before applying adhesive. Move the photo a little higher or lower until the expression sits comfortably within the shape. Keep a dog’s distinctive ears visible whenever the crop allows it. Write a name or a short note on the back after checking the spelling.
For a silhouette ornament, trace a side-profile photo onto plain paper first. Simplify tiny fur details that would be difficult to cut, while retaining the ear shape, muzzle, and posture that make the outline recognizable. Transfer the outline to contrasting cardstock and mount it on a plain oval or rectangle.
Hold the silhouette at arm’s length. If the shape is difficult to read, simplify the background rather than adding more decoration. You can save the tracing with your project notes to make a matching version later.
Use a year pair or one meaningful detail
A two-sided year ornament gives you room for two moments without crowding the front. Put one photo on each side of a sturdy base: perhaps an early picture and a recent one, if that comparison means something to you. Check which way the photos face before attaching the second image.
Keep any year or date accurate. If you do not know the exact date, a general note such as “Our first holiday together” can work when it is true. You can also omit dates entirely. The photo does not need a timeline to belong in your collection.
A detail ornament takes a different approach. Choose one feature from a photograph, such as a white chest patch, a familiar bandana, or the outline of one wonderfully uneven ear. Draw it simply on cardstock, then write a sentence on the back explaining why you chose it. This version can be especially satisfying when a full portrait would feel too busy.
For a coordinated gift, repeat the same color and photo on a flat card. Our dog Christmas card ideas offer a separate starting point for that piece. Let the ornament carry the image and the card carry the longer message.
Leave room for a gentle remembrance version
A remembrance ornament can use the same simple construction, with a photo that feels right to you. It does not need a particular phrase, date range, or decorative symbol. A name on the back and a familiar expression on the front may be enough.
If you are making it for someone else, ask before choosing memorial wording or a display format. Some people welcome a holiday keepsake; others would prefer an everyday photograph, a private note, or time before deciding. Do not assume the same gesture will suit everyone.
For a personal piece, try placing the photo on the unfinished card and setting it aside before you commit. You can return to it later, change the image, or keep the project in an envelope. There is no deadline for finishing it.
If you would rather make a contained display with room for a photo and another meaningful item, our pet memorial shadow box ideas cover that different format. Use copies of photographs in either project so the originals remain available for other decisions.
Choose the display before you pack away the tools
Test the finished ornament above a table, then check whether it hangs level. If it tips forward, look at the hole placement and how the loop sits. Keep the back neat, especially on a two-sided design that may turn while hanging.
Choose a display location your pets cannot reach. The ASPCA’s holiday safety guidance explains the risks of swallowed tinsel and recommends keeping ornaments out of pets’ reach. Keep hanging loops and spare supplies inaccessible, and collect scraps before allowing pets back into the room. If something is swallowed, contact your veterinarian promptly rather than waiting to see whether a craft item causes trouble.
Before seasonal storage, photograph the finished pieces and save the source images in a clearly named folder. Pack paper ornaments flat in a protective box, with the loops arranged so they do not catch on neighboring pieces. Add a small note identifying any photo you would otherwise have to search for next year.
If one image deserves a larger, year-round place on the wall, Pawfolio’s custom pet Art Prints offer a separate format. For your handmade ornament, the small scale is part of the pleasure: one recognizable detail, a simple shape, and a memory you chose yourself.